


This guide shares the most reliable Minnie cake styles for Sydney celebrations, plus quick ordering...
Popularity now looks a little different. Instead of giant fondant sculptures, many parents choose...
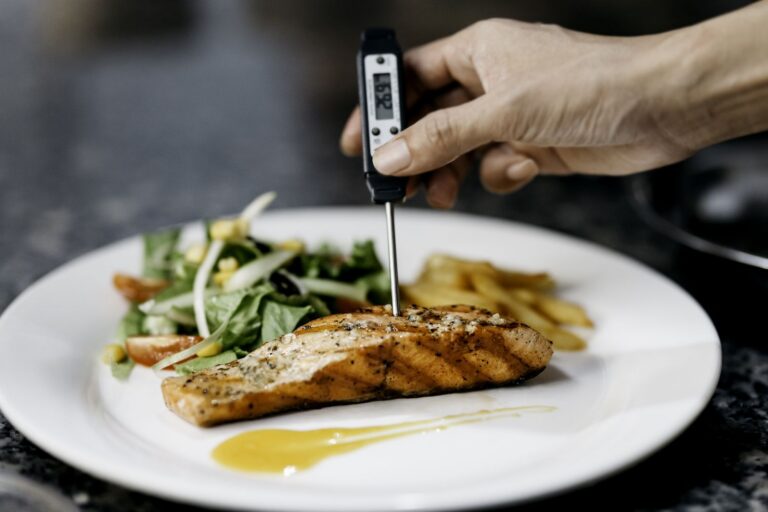
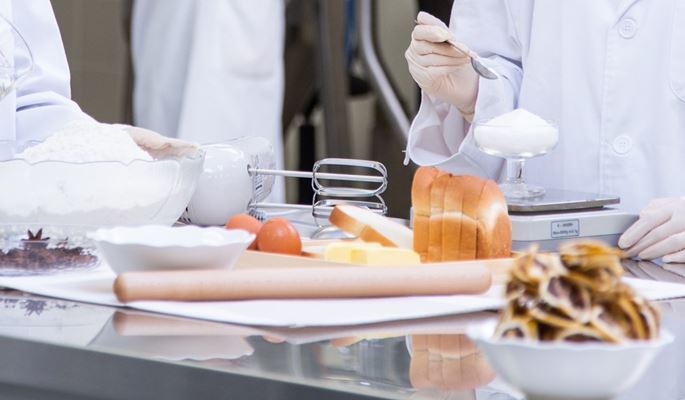
The “temperature danger zone” is commonly defined as 40°F to 140°F (4°C to 60°C). In that range...

This guide covers the most common danger-zone mistakes that trigger violations and the simple...

This comparison breaks down where each method fits, what each one risks, and how teams usually...

In 2026, HACCP software is less about “going digital” and more about staying audit-ready, reducing...

Why Should Food Industry Stakeholders Consider Integrating Food Safety and Quality Management...
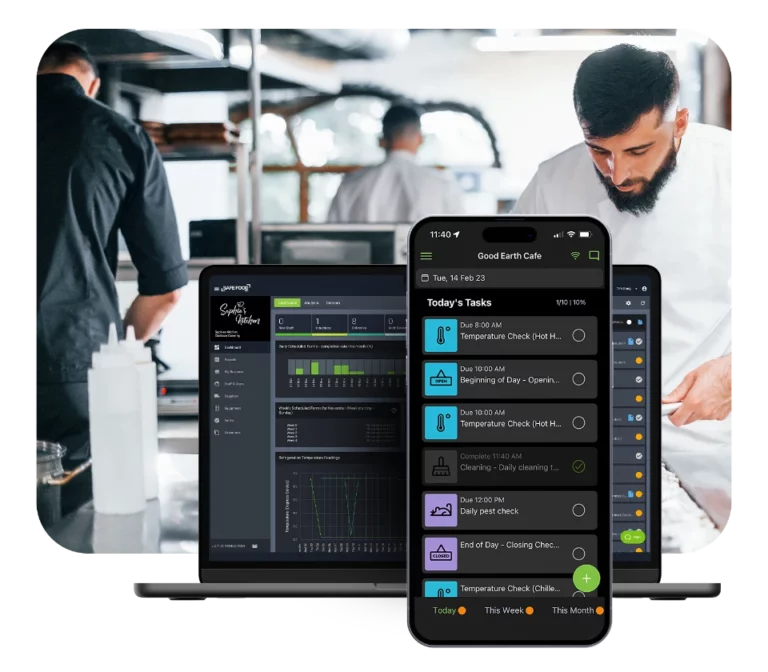
How Can Advanced Food Safety Audit Software Transform Your Auditing Process? Advanced food safety...
Why Is Food Safety Important in Australia and How Do Local Regulations Impact It? Food safety...
