


Introduction – Food Safety in a Changing World Food safety has always been critical in Australia...
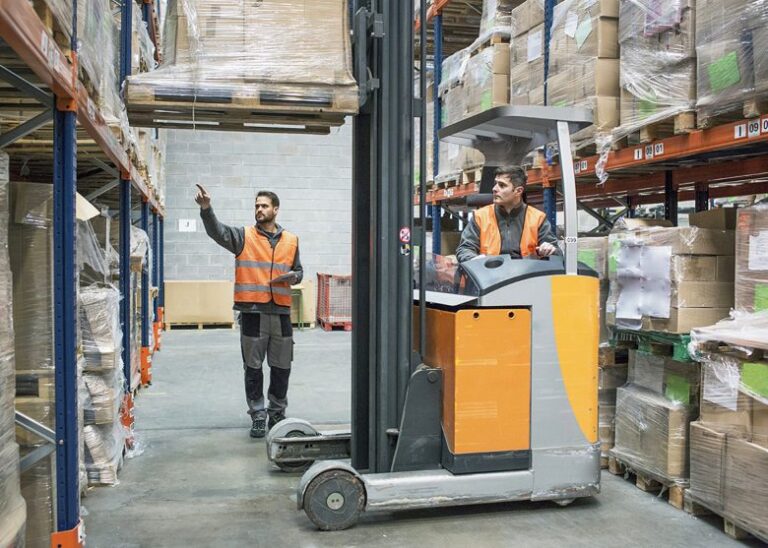
Due to its high-performance capabilities and specific design characteristics, the 2129/2102-1...
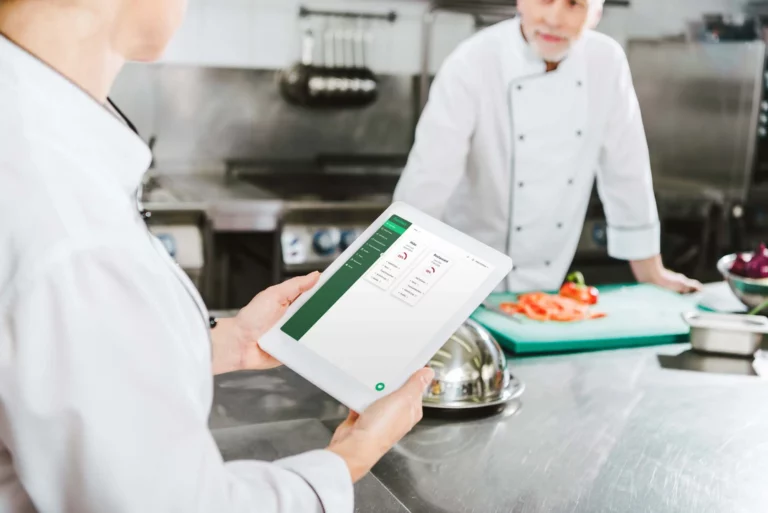
How Can Food Safety Compliance Software Keep You Audit-Ready? Food safety audits can be daunting for...
Why Is Food Safety Important in Restaurants and How Can Software Help Manage It? Food safety is...
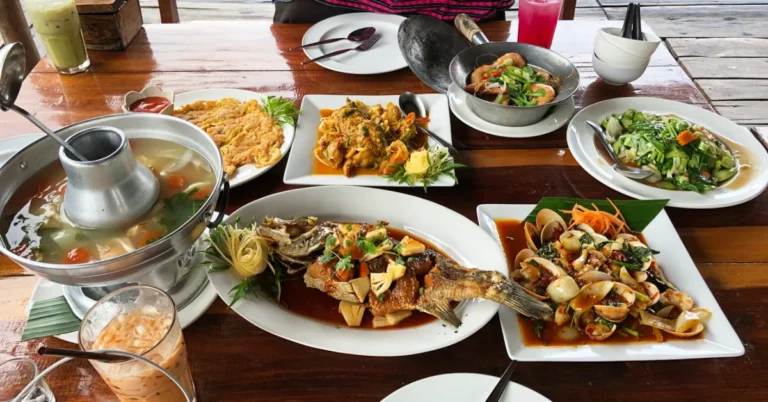
So we just came back from a very good holiday in Krabi with a belly full of good food and a good...
